
Flipkart Seller Login: Step-by-Step Registration Guide
-
 by
by
- in Business

Flipkart is among the biggest online platforms in India and provides a user-friendly platform to millions of buyers in the country for small businesses and individual sellers alike. When you are thinking of selling online, the first thing that you need to do is to register for the Flipkart seller login and sign up.
This article will take you through the process of creating your account, listing your first product and offers you some tips on selling more once you’re listed.
How to Log in Flipkart Seller?
It’s a quick process to create your seller account.
1. Visit the Flipkart Seller Hub Go to seller.flipkart.com and click on “Start Selling” to begin the registration process.
2. Add Your Contact Details Enter your phone number and verify it with the OTP that was sent to your phone. Now type in your email address. Being both is necessary for Flipkart to contact you with regards to orders and account changes.
3. Enter Your GSTIN/PAN & Select Category of Item to be sold. In case you are selling under “All Categories”, you’d require to register and verify your GSTIN. In case you are only selling books, then it is enough to have a PAN. Once finished, click “Register & Continue”.
4. Make a Password Use a strong password that is at least eight characters long, including a special character, upper case and lower case letters. Enter your name and set a name for your display and proceed.
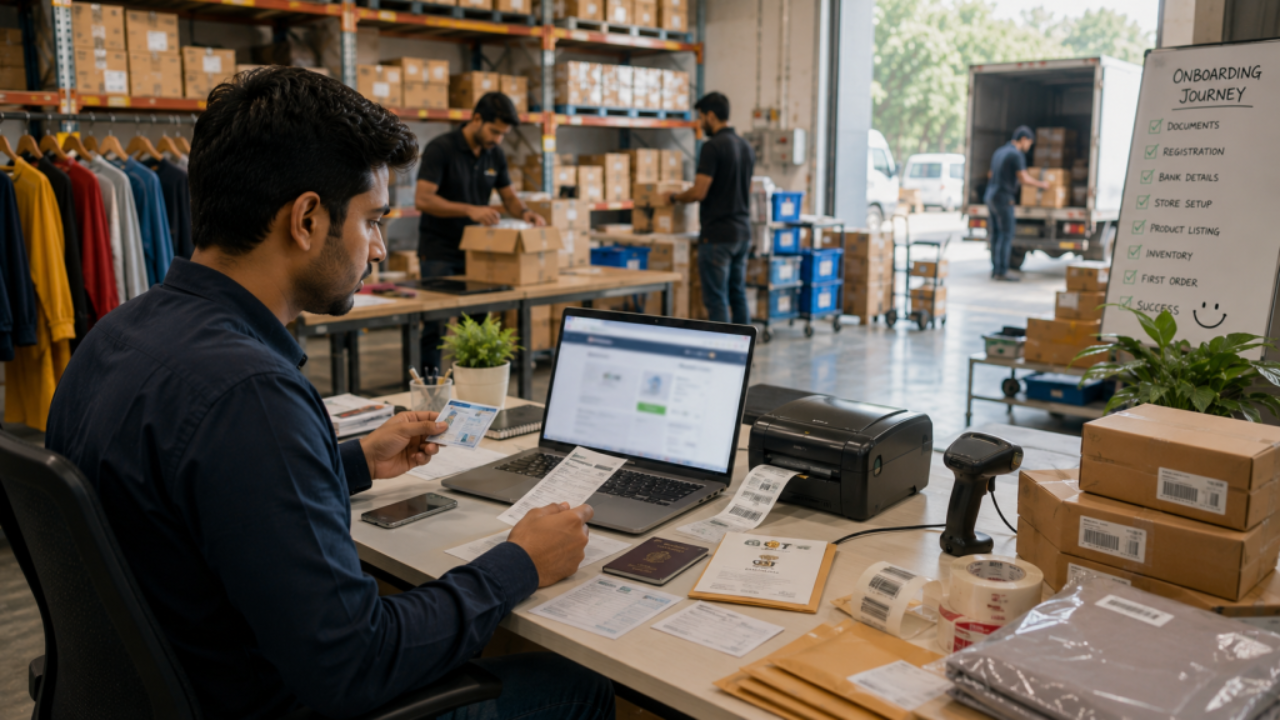
5. Check your e-mail Verify your e-mail through your onboarding dashboard and click the verification button beside your e-mail address. A link will be sent to you via e-mail; click it to verify your address.
6. Add Your E-Signature You can draw with a mouse or stylus, or generate your name with an autofill signature. This signature is on your bills.
7. Enter Store and Pickup Details Fill in your store name, owner’s name, a short description, and your pickup address with the correct pin code. This will ensure that Flipkart can pick up orders without any hassle.
8. Enter Bank Details Enter Business bank account number and IFSC code. These should be in line with the information associated with your GSTIN so that the payment is not delayed.
Once you have completed the Flipkart seller login procedure, you will proceed to “Go to Listing” and then click on “List your own products. Include clear pictures, accurate descriptions and your return/replacement policy.
Read Also: Wells Fargo Credit Card Login: How to Get Into Your Account Without the Headache
Managing Your Account After Flipkart Seller Login
After the registration, Flipkart Vendor Hub is your primary workspace. List new products, track orders and manage your stock-levels in one place.
Many sellers use a Virtual Place of Business (VPOB) to register for GST locally if they have multiple states they are selling in, but don’t have a physical office in each of those states. This enables you to store goods at Flipkart’s warehouses in various regions and enables more buyers to buy these products with local GST registration without renting an actual office.
In case of any problem logging in, make sure to reset your password first. Sellers: Please use the Shopsy seller login for sellers with Shopsy accounts.
Strategies to Boost Sales on Flipkart
Setting up your account is only the start. Once live, here’s how to sell more:

- Enhance visibility of products on search and category pages through product listing ads.
- Take advantage of item sales and deal events to draw in additional buyers without doing far more.
- Properly package so that product doesn’t get damaged and helps increase customer confidence in the product.
- Be sure to list in detail and clearly, so buyers are not misled.
- Deliver the product on time and answer customer questions promptly, this leads to higher customer reviews.
- Employ good quality photographs as buyers cannot be able to see and touch the product themselves.
- Use social media to generate traffic off Flipkart.
- Make sure that you don’t run out of stock during major sales by planning ahead.
- Use keywords to maximize the number of searches you get on your titles and descriptions.
FInal Word
The steps to complete the Flipkart seller login are simple but the success of your store requires continuous efforts, excellent product listing, reasonable pricing, and timely service. With your account enabled, pay attention to the details that help foster trust with your buyers, then leverage the Seller Hub tools to help you continue to improve. Flipkart can be a consistent source of sales for your business with the proper approach.
FAQs
1.How to Log in to Flipkart Seller for the first time?
Visit seller.flipkart.com, click on “Start Selling” and confirm your phone number on the phone with an OTP. Enter your email-id, GSTIN or PAN and enter a password to complete your Flipkart seller login.
2.What documents are required for Flipkart Seller Login & Registration?
For the majority of categories, a valid GSTIN (or PAN if you are selling only books) is required, along with the details of your store’s pickup address.
3.I can’t access my Flipkart seller login dashboard. What should I do?
Use the ‘Forgot Password’ feature to reset your password. If it doesn’t, look for verification links in your email or contact seller support at Flipkart.
4.Can I sell on Flipkart without a GSTIN?
Yes, but not for categories where they are not subject to GST such as Books (where they can be registered by checking a PAN).
5.After logging in, what does Flipkart Vendor Hub do?
Once you have successfully logged into Flipkart as a seller, the Vendor Hub enables you to list products, track orders, manage your stock and check the performance of your store.
Read More: What Is EnterTechPro and Why Do People Keep Using It?

No comment