Whole Home Generator Installation: What to Expect
-
 by
by
- in Featured Technology

Whole home generator installation keeps your lights, HVAC, and appliances running when the grid fails. Planning the project well prevents delays, safety issues, and surprise costs. Homeowners often have questions about permits, wiring, gas lines, and how long the work will take. This guide walks through each step, from sizing your generator to the final inspection and ongoing maintenance. You will see what licensed electricians, plumbers, or solar installers actually do on-site and what you need to decide beforehand. With clear expectations, you can budget correctly, pass inspections, and enjoy reliable backup power for years.
Planning and Preparing for Generator Installation
Planning starts with understanding your home’s power needs, local rules, and site conditions. Proper preparation avoids code violations, rework, and delays once the installation crew arrives.
Home Power Assessment and Generator Sizing
A licensed electrician or generator specialist starts with a load assessment. They review your main panel, breaker sizes, and major appliances like HVAC, well pumps, sump pumps, and refrigerators. You choose which circuits must run during an outage and which can stay off. The installer calculates starting and running wattage, then recommends an appropriate generator size in kilowatts. They also check available fuel types and space for placement. Correct sizing prevents overloads, nuisance trips, and wasted fuel. Undersized units struggle with motor loads; oversized units cost more upfront and to operate. A proper assessment balances comfort, cost, and safety.
Permits, Local Codes, and Safety Requirements
Before any work begins, your installer checks local building, electrical, gas, and fire codes. Many cities require permits for standby generators, transfer switches, gas piping, and concrete pads. The contractor usually handles permit applications and drawings, but you should confirm who is responsible. Inspectors often review clearances from doors, windows, property lines, and ignition sources. Noise ordinances and HOA rules may affect generator placement. Codes also regulate grounding, wiring methods, and fuel line sizing. Following these requirements is not optional; it protects your home, keeps insurance valid, and ensures safe operation when the generator starts under load.
Step-by-Step Whole Home Generator Installation Process
The whole home generator installation follows a clear sequence: prepare the site, place the generator, install wiring and transfer equipment, connect fuel or solar components, then test and inspect the complete system.
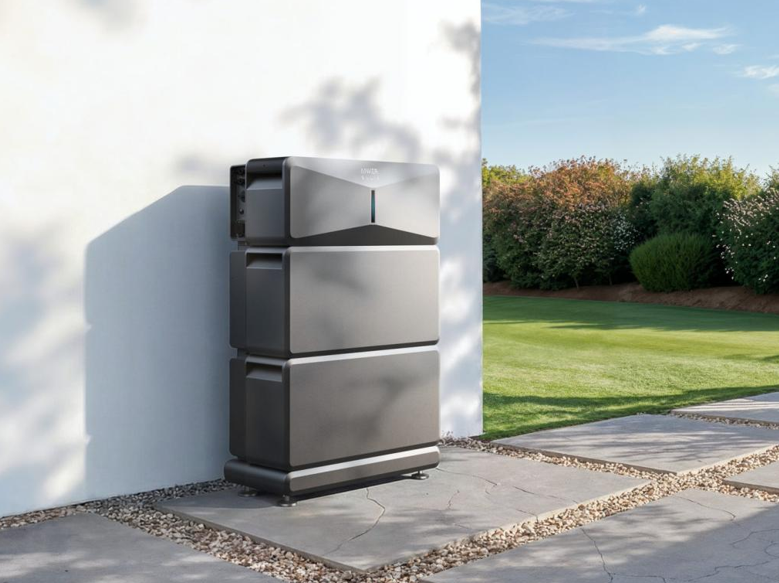
Site Selection, Placement, and Foundation Setup
The installer chooses a location that meets code clearances and manufacturer guidelines. The site must sit above possible water pooling and allow airflow around the generator. It should be near the electrical service and fuel source but away from windows, doors, and vents to reduce exhaust risks. After marking utilities, the crew levels the ground and installs a concrete pad or prefabricated composite base. They anchor or secure the generator to the foundation to resist vibration and weather. Proper placement also accounts for service access, snow or debris buildup, and potential future landscaping changes around the equipment.
Electrical Wiring and Transfer Switch Installation
A licensed electrician mounts an automatic transfer switch (ATS) near your main electrical panel. The ATS acts as the traffic controller between utility power and generator power. The electrician turns off power, then reroutes service conductors through the transfer switch according to code. For whole home backup, the entire main panel feeds through the ATS. For partial backup, selected circuits move to a subpanel. They run conduit and wiring between the generator and transfer switch, then label breakers and circuits clearly. Proper wire sizing, grounding, and bonding are essential to prevent overheating, backfeeding, and dangerous fault conditions.
Fuel or Solar Integration and System Connections
For gas-powered generators, a licensed plumber or gas fitter installs and sizes the fuel line from an existing natural gas meter or propane tank to the unit. They add shutoff valves, regulators, and sediment traps as required by code. For diesel units, they connect fuel lines to an approved tank with proper venting and containment. For solar-plus-battery backup, a solar installer integrates the generator with inverters, batteries, and control systems so they work together without cross-feeding. The team then completes control wiring, battery connections if required, and communication links between the generator, transfer switch, and monitoring devices.
Final Setup and Post-Installation Expectations
Once wiring and fuel connections are complete, the contractor programs, tests, and inspects the system, then explains operation, maintenance, and what you should expect during future outages.
System Testing, Inspection, and Smart Setup
The installer performs startup procedures following manufacturer’s instructions. They test the generator off-load first, then simulate a power outage so the automatic transfer switch moves your home to generator power. During testing, they check voltage, frequency, and load balance across phases. Any error codes or unusual noises get resolved before final sign-off. Local inspectors may visit to verify clearances, wiring, gas connections, and grounding. The installer often sets up smart monitoring through Wi‑Fi or cellular modules, allowing alerts for faults, low fuel, or missed exercises. They show you how to manually start, stop, and test the system safely.
Maintenance, Performance, and Long-Term Reliability
Long-term reliability depends on regular maintenance. Follow the manufacturer’s schedule for oil changes, filter replacements, spark plug checks, and coolant inspections. Most installers recommend a weekly or biweekly exercise cycle where the generator runs briefly under light load. Keep the area around the unit clear of leaves, snow, and debris to maintain airflow. For gas units, monitor fuel supply pressure; for propane or diesel, track tank levels before storm seasons. Schedule annual professional service to test load capacity, update firmware, and inspect electrical connections. Consistent care helps your generator start reliably and keep your home running through prolonged outages.
Conclusion
A whole home generator installation involves much more than placing a unit in your yard. Proper planning, accurate load calculations, and code-compliant design create a safe, dependable system. Licensed professionals handle wiring, fuel lines, permits, and inspections so your generator integrates seamlessly with your existing electrical setup. After installation, regular testing and maintenance protect your investment and keep backup power ready. By understanding each step and asking the right questions, you reduce surprises, avoid shortcuts, and gain confidence when storms or outages hit. A well-installed generator becomes a reliable shield against unexpected loss of power.

No comment